

How To Debug Java Restful Web Service In Eclipse
Java Web Apps with Visual Studio Code
This tutorial shows you how to create a Java web application with Visual Studio Code. You'll learn how to run, debug, and edit the Java spider web app locally and somewhen on the cloud.
Scenario
A elementary Spring Kicking Getting Started web app
Before you brainstorm
Before running and deploying this sample, you must have the Java SE Development Kit (JDK) and Apache Maven build tools on your local development surroundings. If you lot don't have, please install them.
Download and install the Extension Pack for Coffee, which has JDK 11 included.
Notation: The
JAVA_HOMEenvironment variable must be set to the install location of the JDK to complete this tutorial.
Download Apache Maven version 3 or greater:
Download Apache Maven
Install Apache Maven for your local development surroundings:
Install Apache Maven
Download and test the Spring Kick app
Clone the Spring Boot Getting Started sample project to your local car. You tin clone a Git repository with the Git: Clone command in the Control Palette ( ⇧⌘P (Windows, Linux Ctrl+Shift+P)). Paste https://github.com/jump-guides/gs-spring-kicking.git equally the URL of the remote repository and and then decide the parent directory nether which to put the local repository. Subsequently that, open the complete binder within the cloned repository in VS Code by navigating to the folder and typing lawmaking ..
Note: Yous can install Visual Studio Code from https://lawmaking.visualstudio.com and Git from https://git-scm.com.
From inside VS Code, open whatever of the Coffee files inside the complete binder (for instance src\main\java\hullo\Application.java). If you don't have the Java language extensions installed for VS Lawmaking, yous volition be prompted to install the Microsoft Extension Pack for Java. Follow the instructions and reload VS Code after the installation.

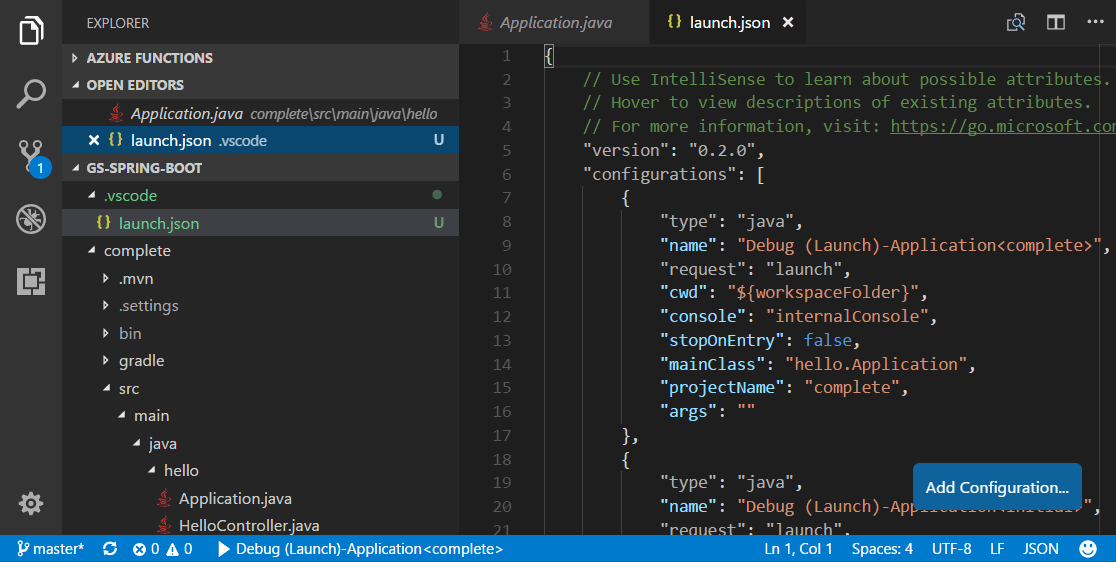
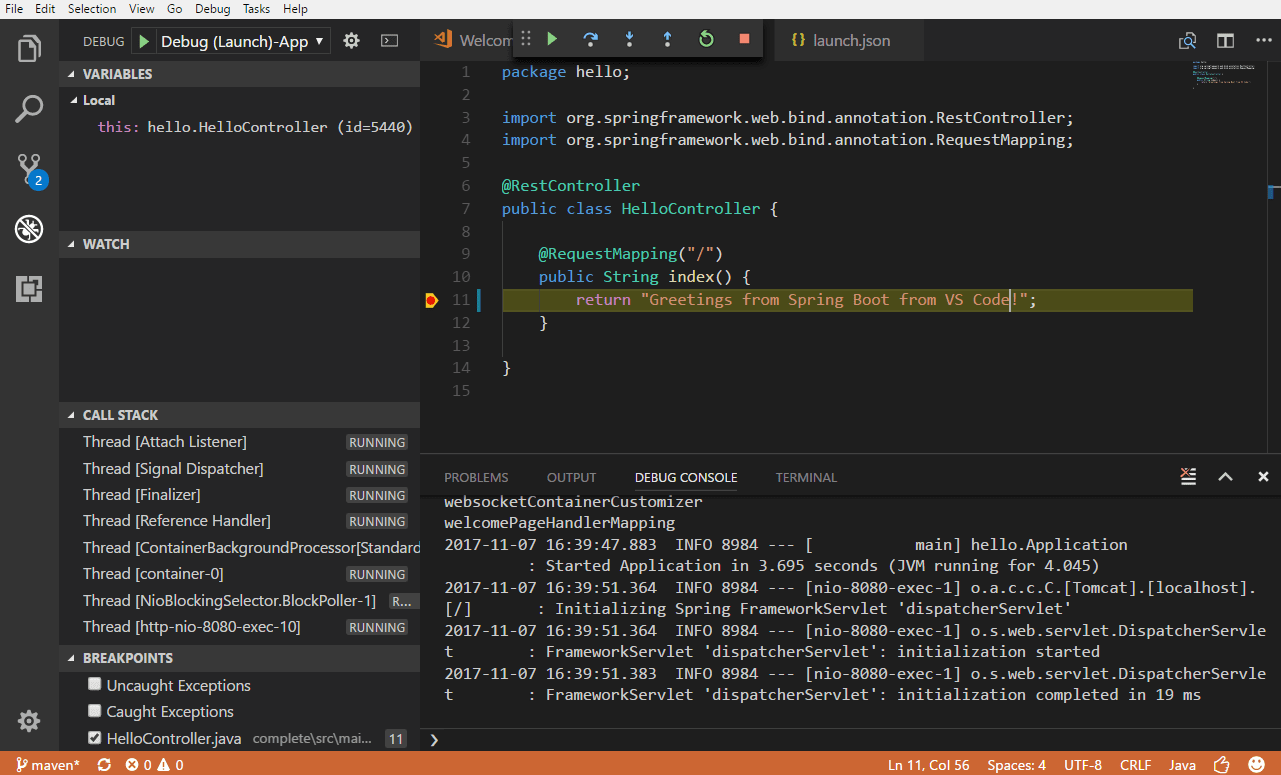
In one case you take the Extension Pack for Java installed, information technology will automatically build the project for y'all (this may take several minutes). You tin can run the application within VS Code past pressing F5 and selecting the Java surround. The Coffee Debug extension volition generate a debugging configuration file launch.json for you nether a .vscode folder in your project. You can see build progress in the VS Code Status Bar and when everything is finished, the final active debug configuration is displayed.
Y'all can larn more well-nigh how VS Code launches your application in Debugging Launch Configurations. Press F5 once again to launch the debugger.
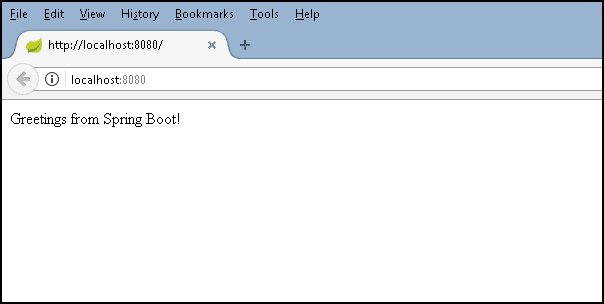
Examination the spider web app by browsing to http://localhost:8080 using a web browser. Y'all should see the following bulletin displayed: "Greetings from Spring Kicking!".
Make a alter
Let'southward now edit HelloController.java to change "Greetings from Jump Boot!" to something else like "Hello World". VS Code provides a keen editing experience for Java, check out Editing and Navigating Code to larn about VS Code'south editing and code navigation features.
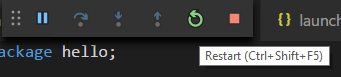
Click the Restart push on the height of the editor to relaunch the app and come across result by reloading the browser.
Debug the awarding
Ready a breakpoint ( F9 ) in the awarding source code, and reload your browser to hit the breakpoint.
If you lot would like to acquire more virtually debugging Java with VS Lawmaking, you tin read Coffee Debugging.
Congratulations, y'all take your first Spring Boot web app running locally! Read on to learn how to host information technology in the cloud.
Deploy Web Apps to the cloud
We just built a Java web application and ran it locally. At present yous will learn how to deploy from Visual Studio Code and run it on Azure in the cloud.
If y'all don't have an Azure subscription, you tin can sign up for a free Azure business relationship. Create your free Azure business relationship
Install the Azure App Service extension
The Azure App Service extension is used to create, manage, and deploy to Azure App Service with primal features including:
- Create new Azure Web App/Deployment Slot
- Deploy to Azure Spider web App/Deployment Slot
- Showtime, stop, and restart the Azure Spider web App/Deployment Slot
- View a Web App's log files
- Bandy Deployment Slots
To install the Azure App Service extension, open the Extensions view ( ⇧⌘X (Windows, Linux Ctrl+Shift+X)) and search for azure app service to filter the results. Select the Microsoft Azure App Service extension. For a more command-line Maven-axial experience, you tin can as well bank check out the Maven plugin for Azure App Service Linux tutorial.
Create a new Web App on Azure
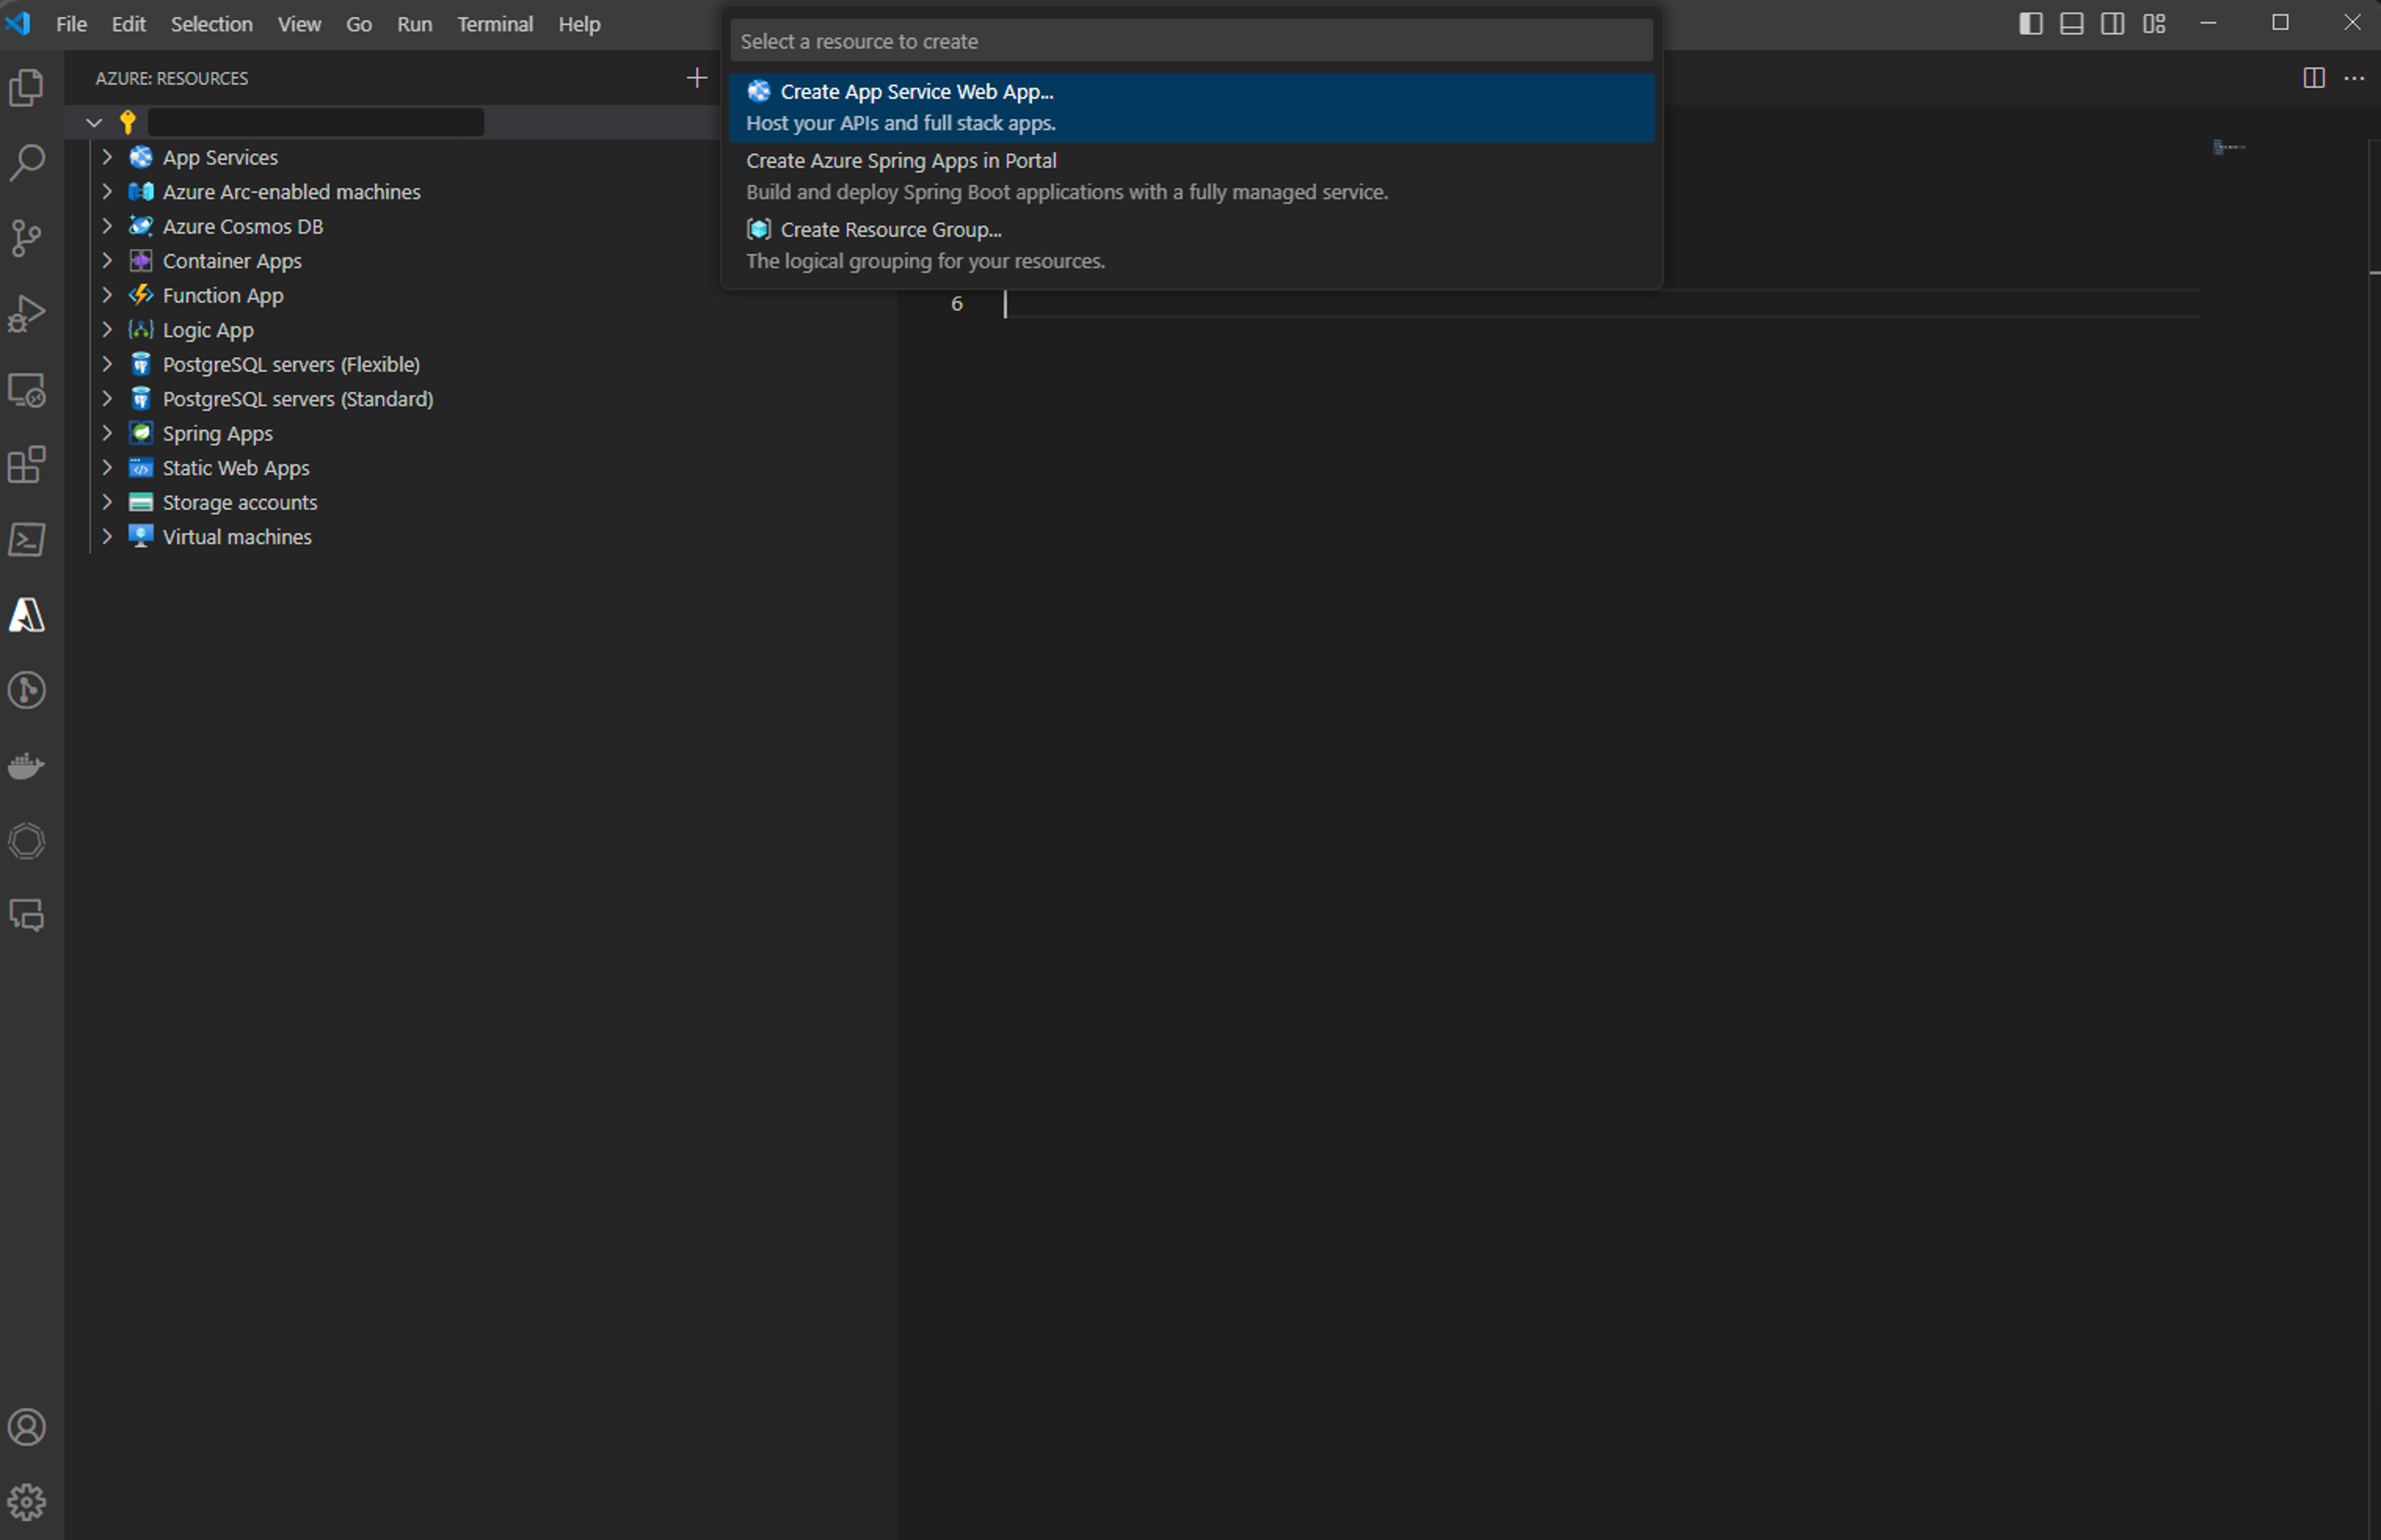
One time the extension is installed, you can have the following steps to create a new Web App on Azure.
- Click Create New Projection button on the APP SERVICE Explorer view.
- Select a subscription.
- Enter a unique proper name for the new Spider web App.
- Select a location for the new Web App.
- Select the OS equally
Linux. - Select the runtime of the Web App, for case
Tomcat 8.five (JRE8).
Build and deploy to a Web App
The deploy process leverages the Azure Account extension (installed along with the Azure App Service extension every bit a dependency) and you need to sign in with your Azure subscription. If you lot practice not accept an Azure subscription, sign upwardly today for a gratuitous thirty day account and go $200 in Azure Credits to endeavour out whatever combination of Azure services.
To sign in to Azure, run Azure: Sign In from the Command Palette ( ⇧⌘P (Windows, Linux Ctrl+Shift+P)). You tin can then sign in to your account using the Device Login period. Select Copy & Open to open your default browser.

Paste in the access code and continue the sign in procedure.

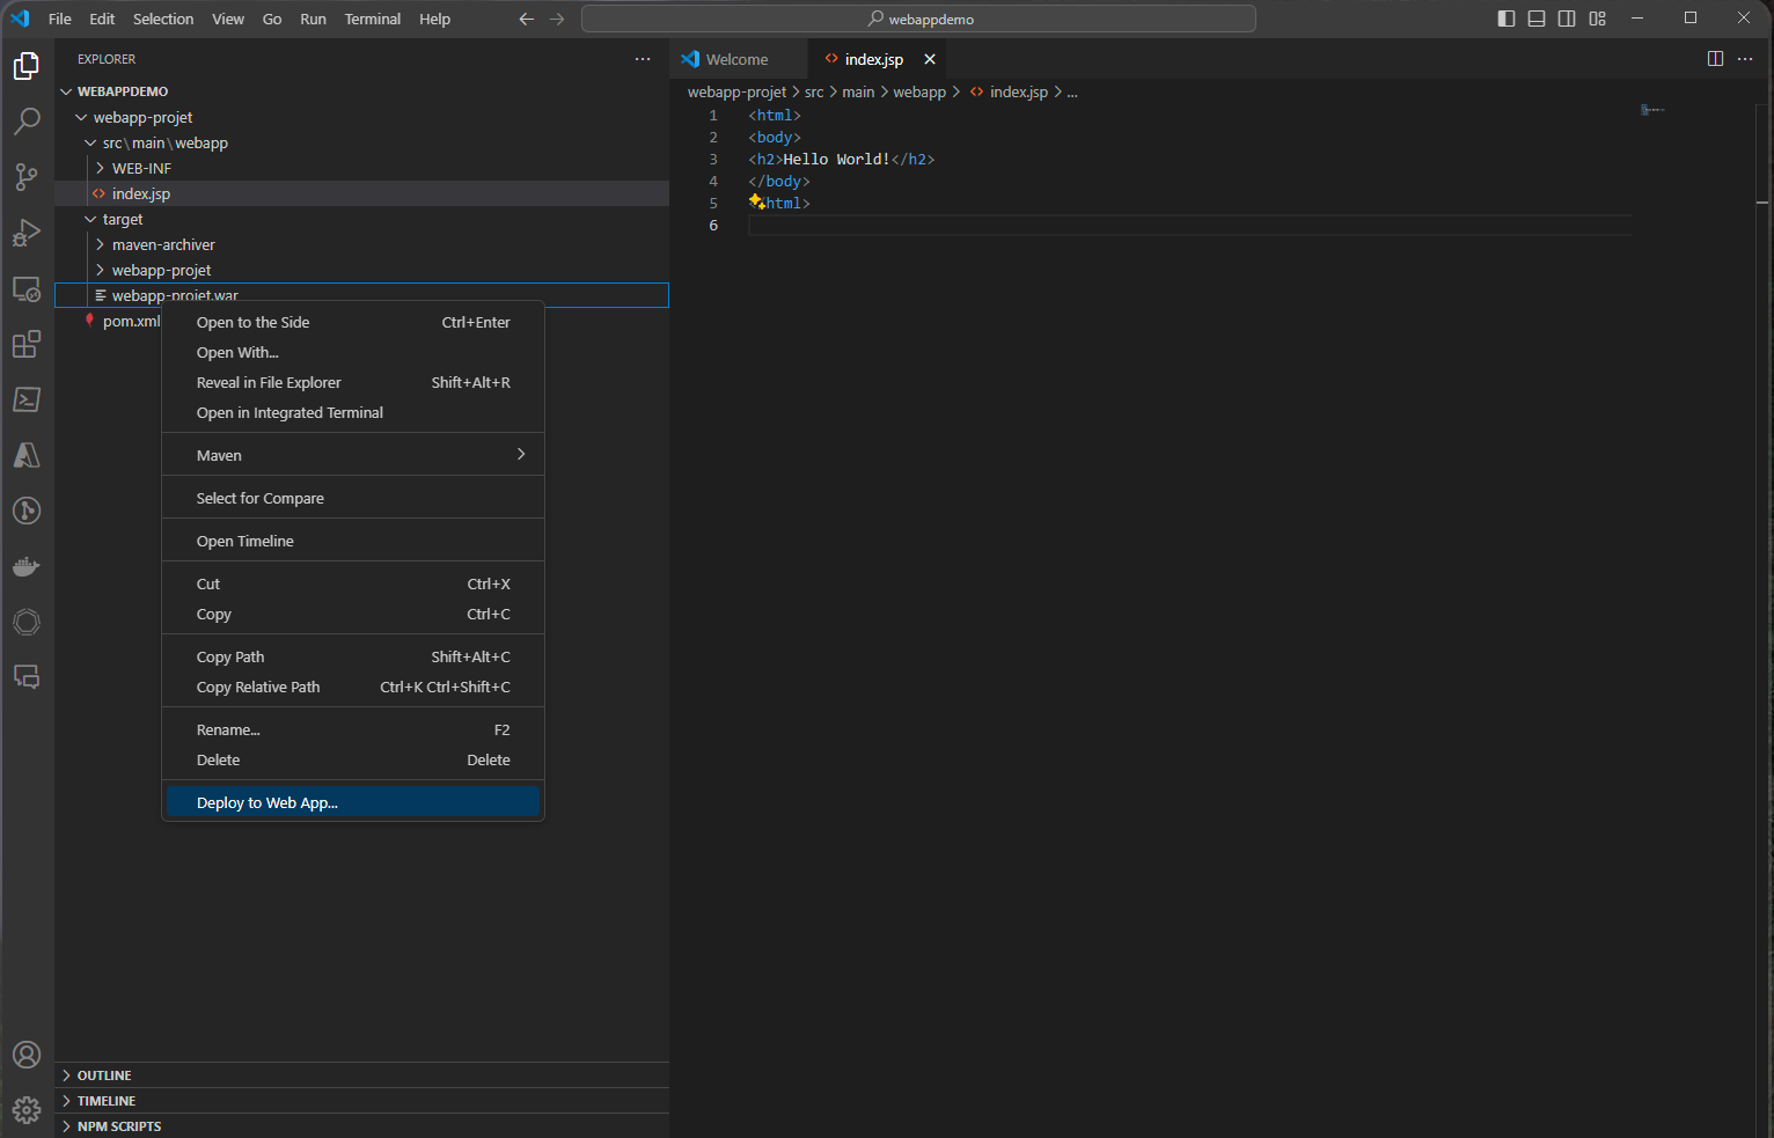
Once you have signed in, you tin open the command prompt or terminal window and build the project using Maven commands. This will generate a new war or jar artifact in the target directory.
mvn clean package After edifice the project, open the target directory in VS Lawmaking Explorer. Right-click on the artifact and choose Deploy to Spider web App, and follow the prompts to cull the Web App for your deployment.
Open up the Output window in VS Code to view the deployment logs. One time the deployment is completed, information technology will print out the URL for your Spider web App. Click the link to open it in a browser, you tin can see the web app running on Azure!

Note: For more advanced features of App Service, you tin check out the Azure App Service extension.
Connect with data services
Azure Cosmos DB is a globally distributed database service that allows developers to piece of work with data using a variety of standard APIs, such as SQL, MongoDB, Cassandra, Graph, and Table.
The Jump Boot Starter makes it easy to store information in and think data from your Azure Creation DB with SQL API.
Create an Azure Cosmos DB entity on Azure
- Get to Azure portal and click the '+' to Create a resource.
- Click Databases, and so click Azure Cosmos DB to create your database.
- Select SQL (Certificate DB) API and type in other information for your database.
- Navigate to the database you accept created, click Keys, and copy your URI and PRIMARY Central for your database.
Config your project
-
Y'all can start from the Spring Data Azure Creation DB Sample Project.
-
Navigate to
src/chief/resourcesand open upapplication.properties. Replace below properties inapplication.propertieswith information of your database.azure.documentdb.uri=your-documentdb-uri azure.documentdb.cardinal=your-documentdb-key azure.documentdb.database=your-documentdb-databasename
Run and debug the application
You tin can press F5 to run your application. To check the result, open Azure portal and admission your Creation DB. Click Data Explorer, and next choose Documents. You volition see data being shown if it is successfully written into Cosmos DB. Y'all can also browse your data entries in Cosmos DB with Azure Databases extension.
Later setting a breakpoint ( F9 ) in your source code, refresh your browser to hit the breakpoint. Details about debugging can be institute in Java Debugging
Alternatively, you can also utilise Maven to package and run your projection as steps below:
-
Navigate to the directory
azure-leap-kickand run the command.mvn install -
Navigate to the directory
azure-documentdb-spring-boot-sampleand run the command.mvn parcel coffee -jar target/azure-documentdb-leap-kicking-sample-0.0.ane-SNAPSHOT.jar
Adjacent steps
- To containerize and deploy a web awarding, bank check out the Docker in VS Lawmaking.
- To learn more virtually Java Debugging features, encounter the Java Debugging Tutorial.

Source: https://code.visualstudio.com/docs/java/java-webapp
Posted by: rodrigueztoeopla.blogspot.com
0 Response to "How To Debug Java Restful Web Service In Eclipse"
Post a Comment